AI Deep Learning Inspection & Smart Factory
Smart Factory & AI Inspection
Measurement
contact lens tester
■Contact Lens Inspection System
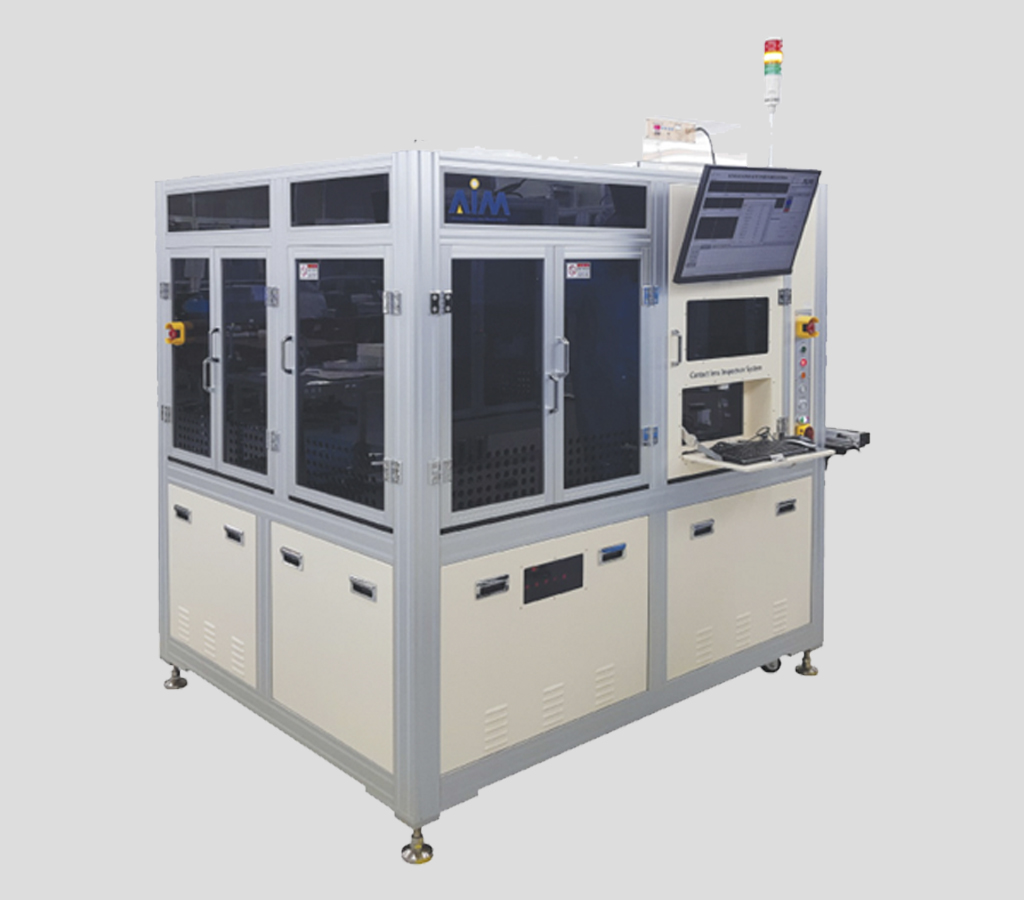
■ Model : CLI-100
| Model : CLI-1000C | Subject to inspection | Contact lens (dry) | ||
|---|---|---|---|---|
| Inspection Item | – Lens Edge: Tear, Tear, Foreign Body, Scratch – Optical areas: foreign objects, scratches, bubbles – Pattern area: Air bubbles, scratches, large printing defects, concentration of printing patterns – Others: Poor lens molding | |||
| Examining Options | – Lens Power and Diameter – Lens CT (thickness) | |||
| Inspection period | 3.2m pixel resolution, ~10m bandwidth (NIR) | |||
| Detection power | 50um or more | |||
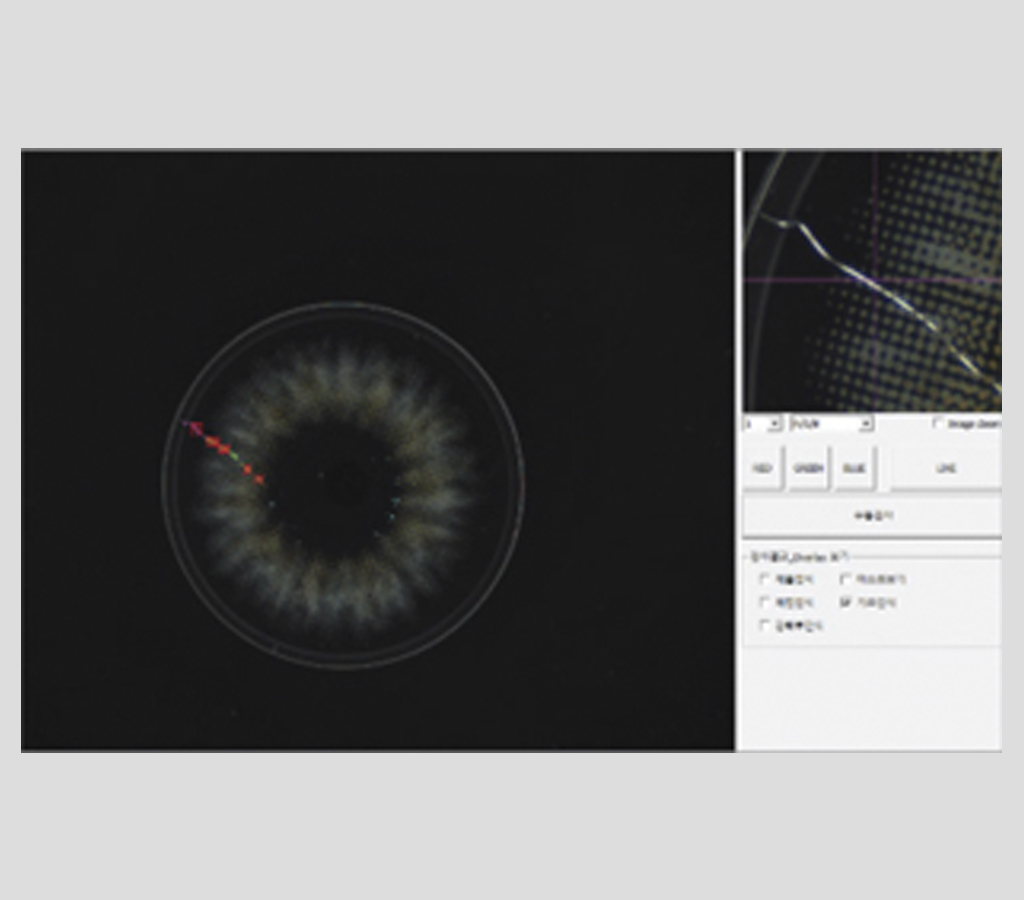
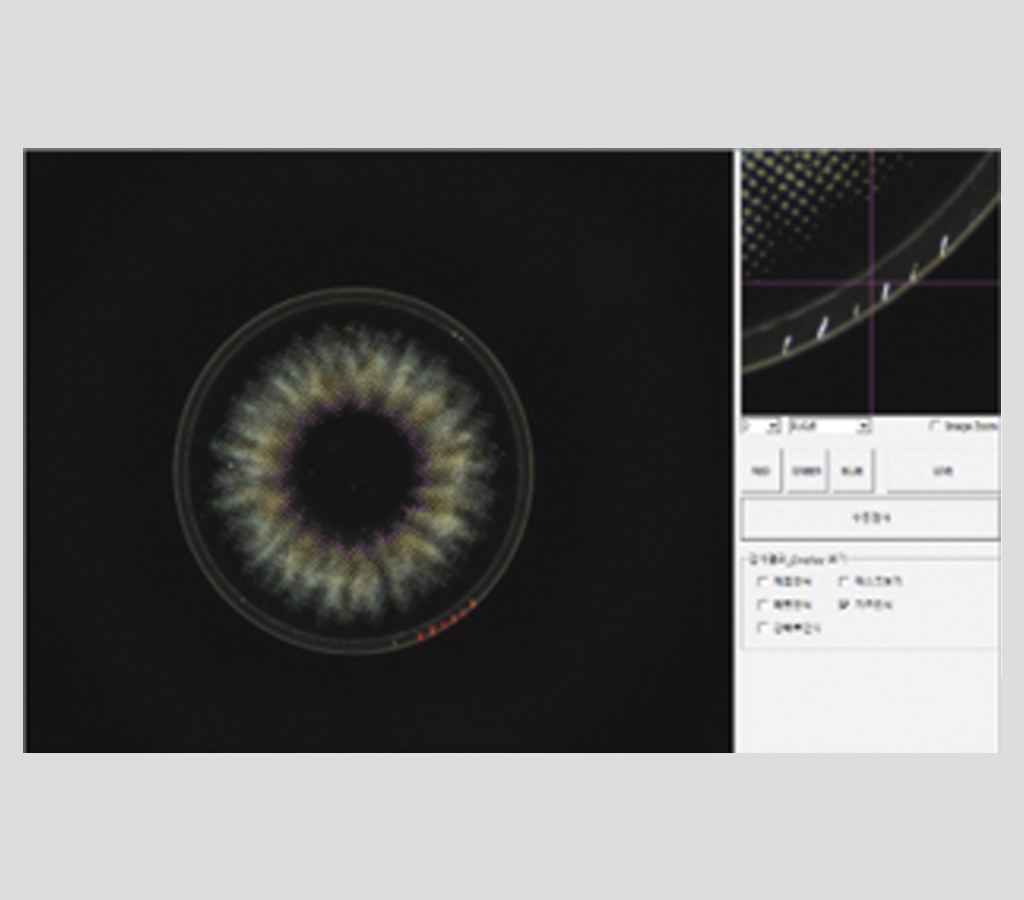
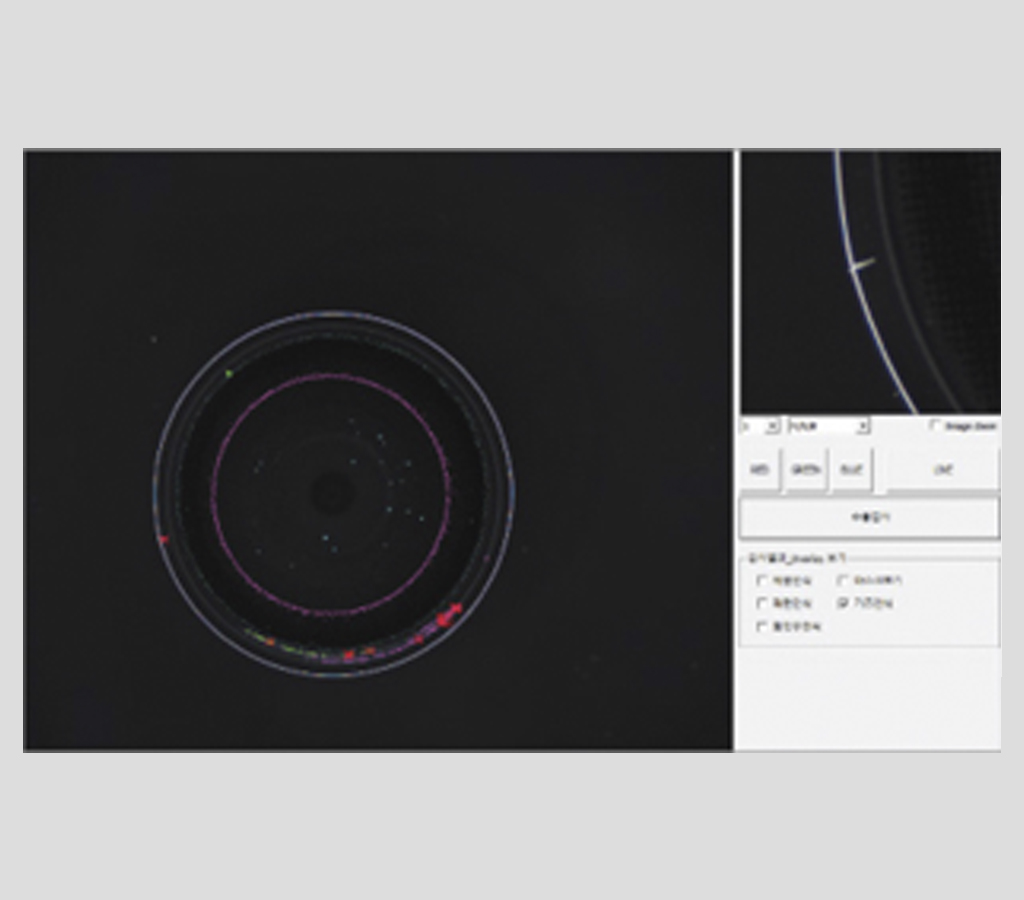
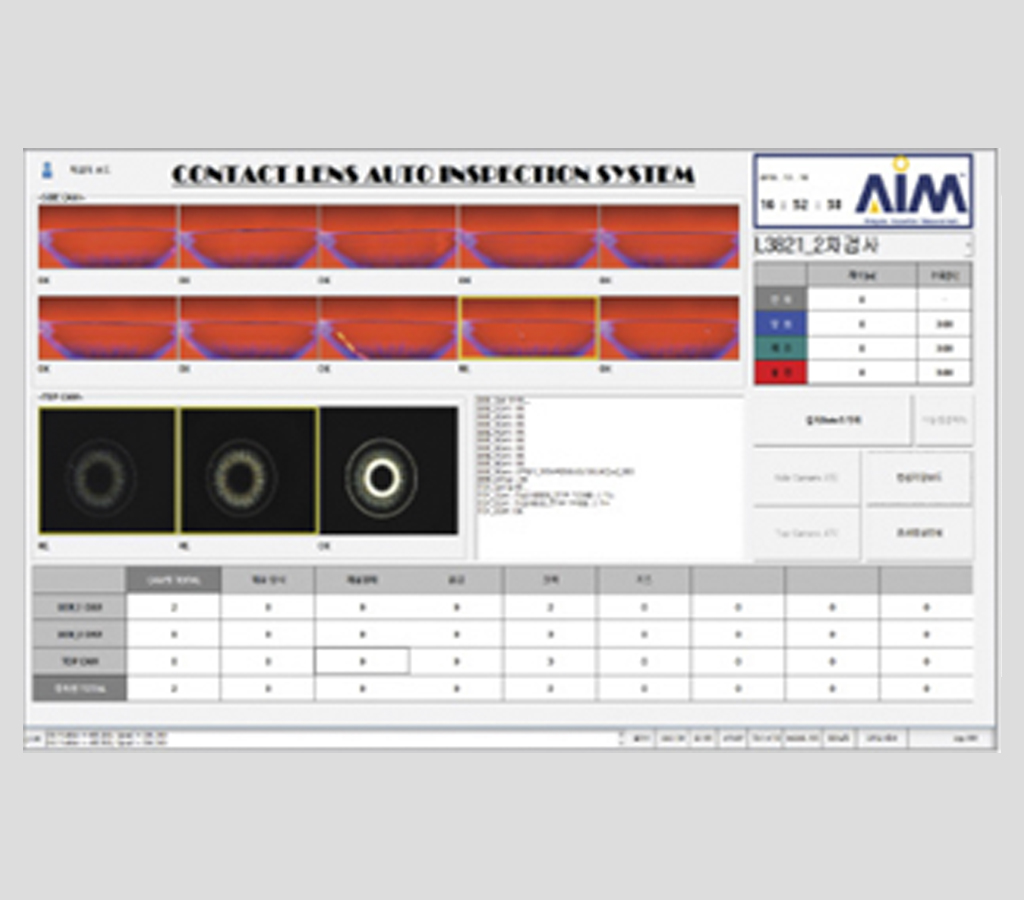
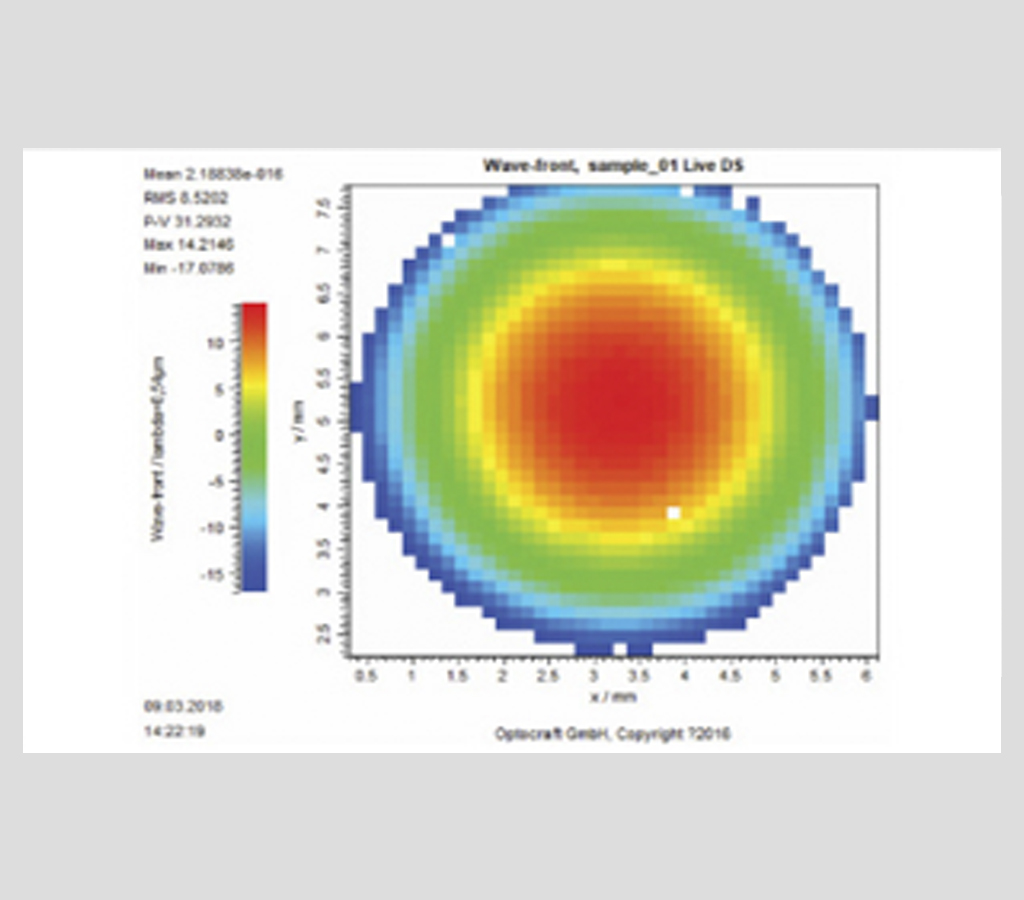
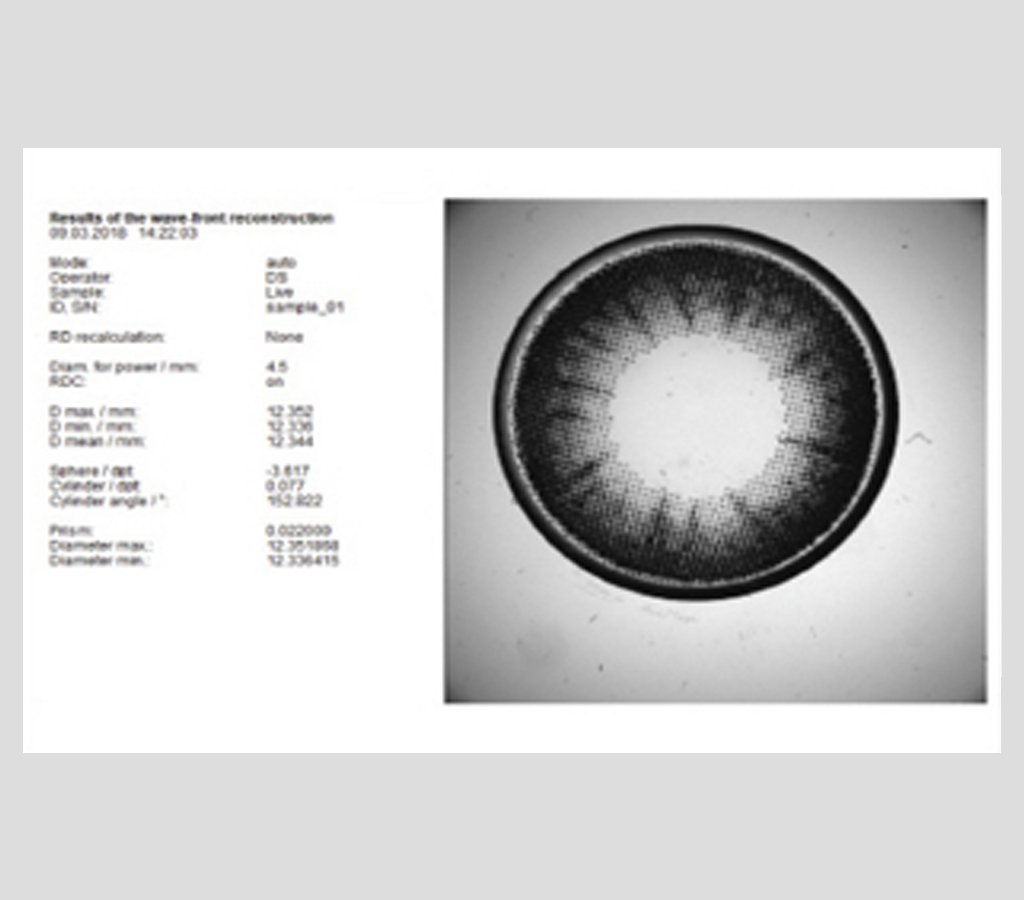
• Error rate graph
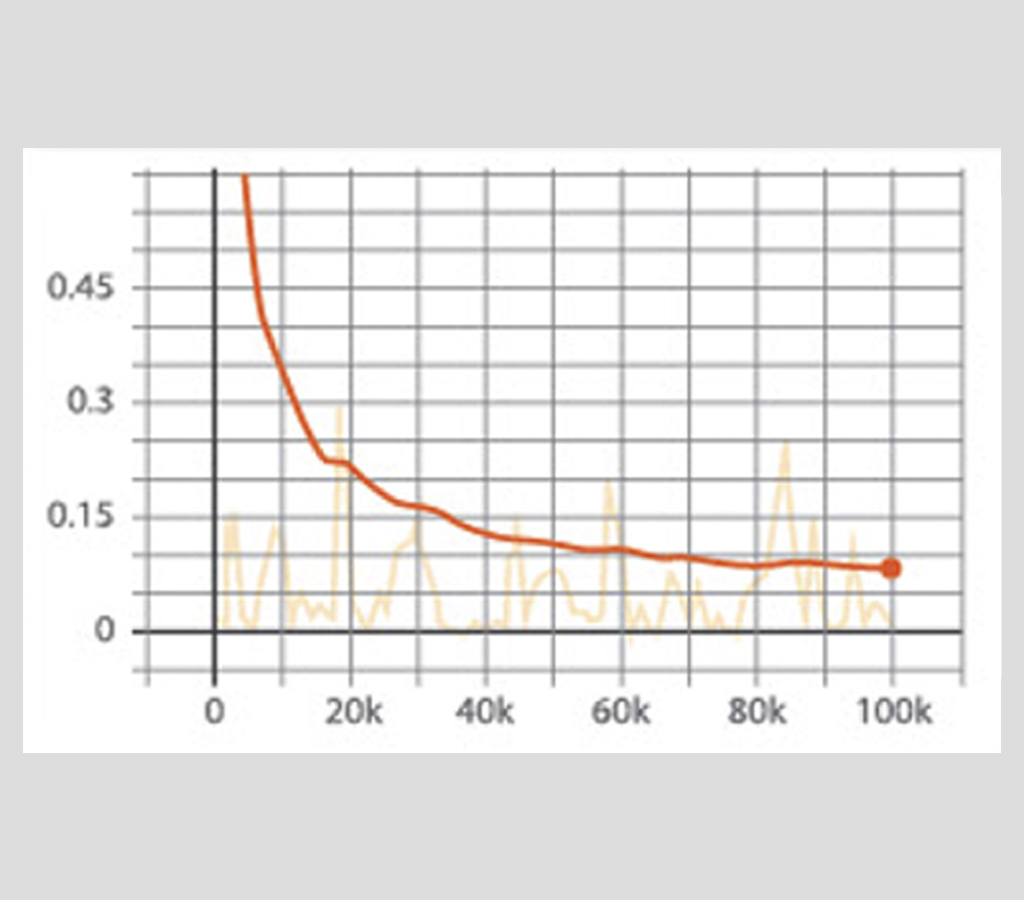
• Verification table
No | Category | Average | Result |
1 | Scratch | 99.97% | detectable |
2 | Broken | 99.95% | detectable |
3 | extraneous material (Point) | 99.96% | detectable |
4 | extraneous material (thread) | 99.93% | detectable |
5 | curve Print | 99.97% | detectable |
6 | 99.98% | detectable | |
7 | void | 99.96% | detectable |
8 | Backlight | 99.97% | detectable |
Measurement
Appearance inspection machine for building materials
■ Appearance inspection machine for building materials
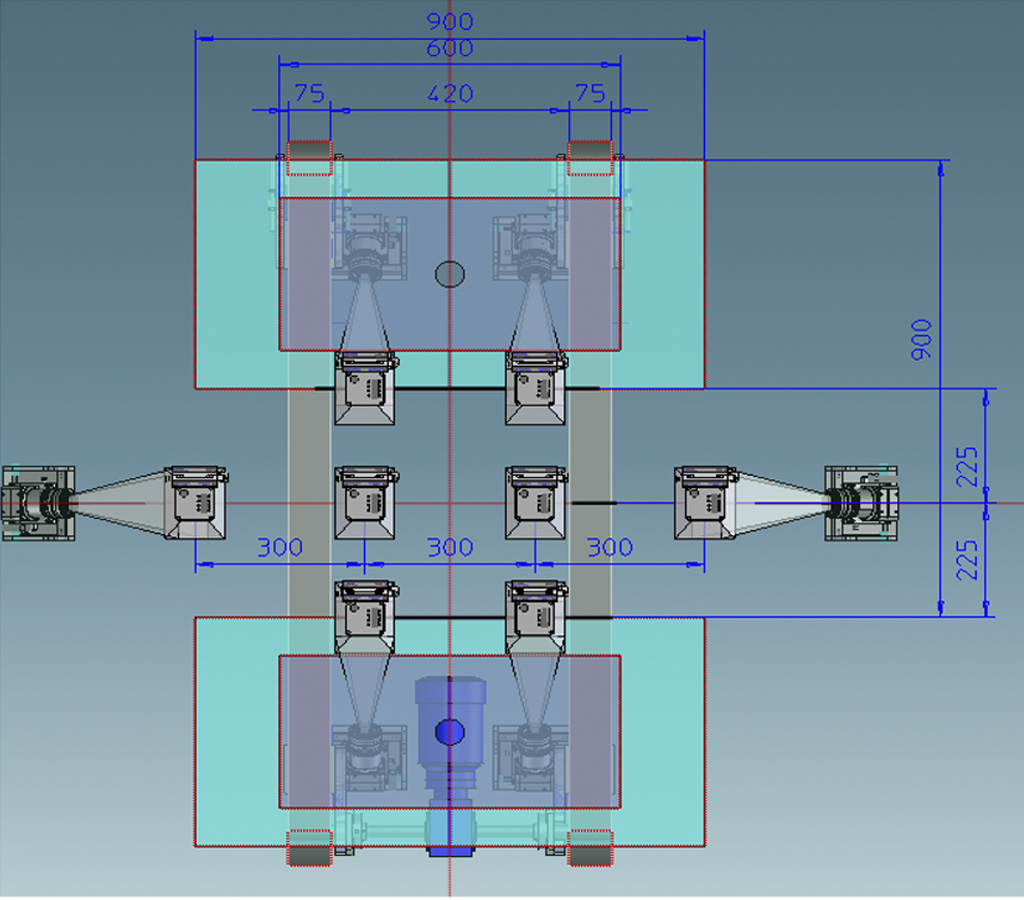
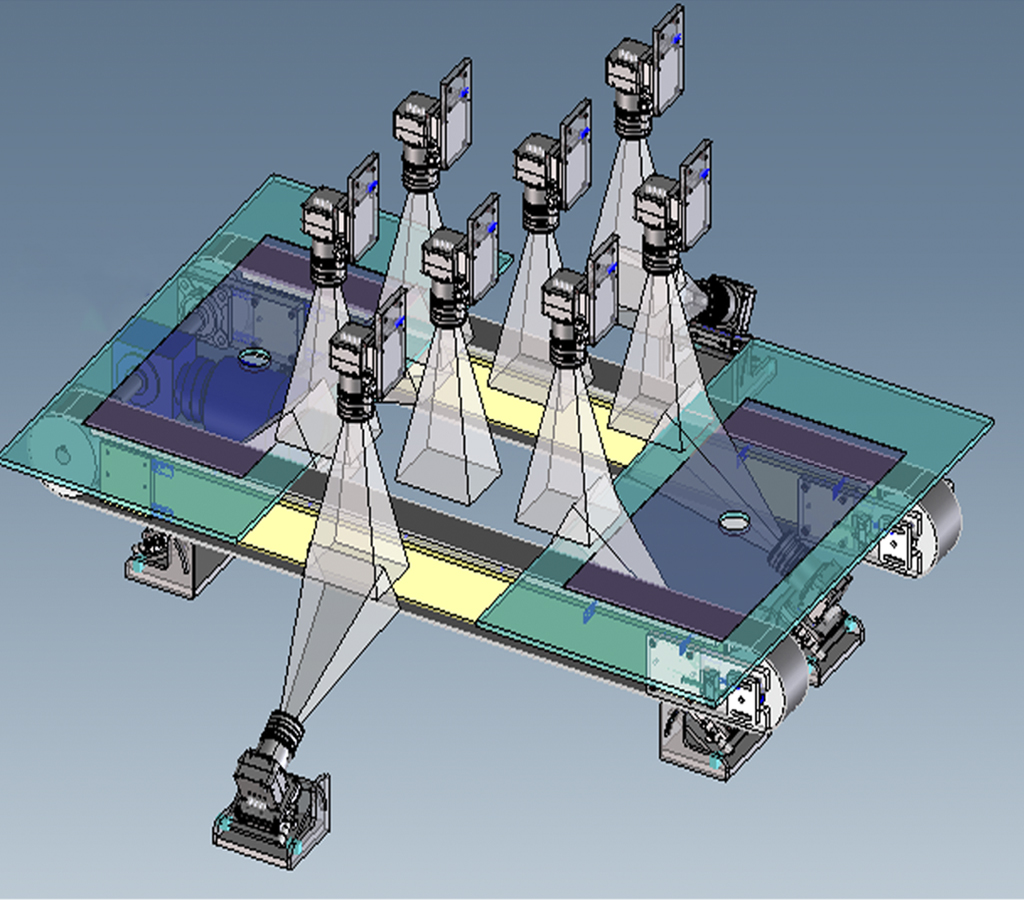
summary
• Purpose – Appearance inspection of finished gypsum products being transported on the conveyor belt.
• Inspection details
Appearance inspection all together (pattern size, pattern pushing, defrosting, foreign matter, stain, damage, etc.)
Result processing: Automatic defect classification (loaded), alarm in case of continuous failure
• Configuration
Industrial optical system, inspection PC, and conveyor set for defect classification
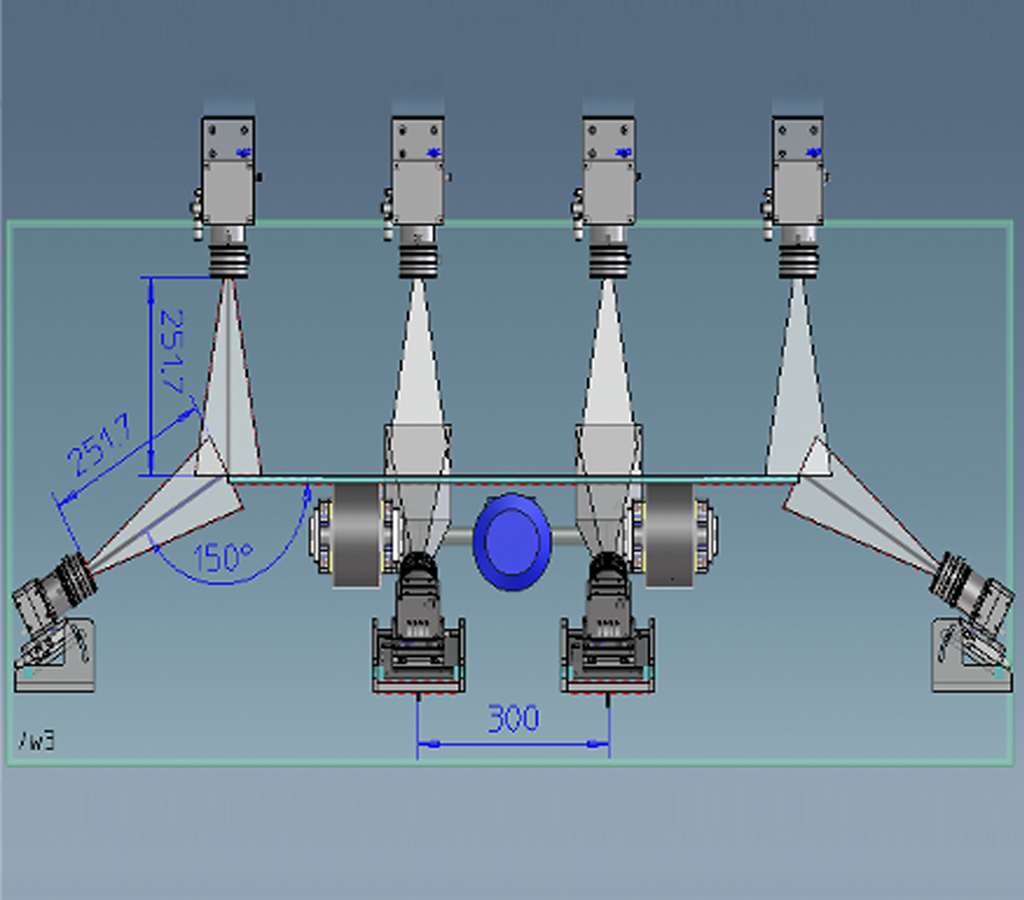
• Optical System Configuration
Depending on the inspection point and product size
FOV 350*300mm standard: More than 0.4mm can be detected
• Organization System Configuration
4-section composition = Inspection unit + Transfer unit + Selection unit + Transfer unit
Sorting unit: Screening inverter + defective transfer unit + loading inverter + loading unit
• System Features
You can inspect Flying Mode without stopping.
High-resolution, high-speed inspection is possible.
Real-time quality control is possible.
| Appearance inspection machine for building materials | Configuration | Industrial optical system, inspection PC, and conveyor set for defect classification Set | ||
|---|---|---|---|---|
| Optical System Configuration | – Depending on the inspection point and product size FOV 350*300mm standard: More than 0.4mm can be detected | |||
| Organization System Configuration | 4-section composition = Inspection unit + Transfer unit + Selection unit + Transfer unit Sorting unit: Screening inverter + defective transfer unit + loading inverter + loading unit | |||
| System Features | – You can inspect Flying Mode without stopping. – High-resolution, high-speed inspection is possible. – Real-time quality control is possible. |
|||


Measurement
Injection, mold appearance inspection machine
■ Injection, mold appearance inspection machine

■ Characteristics
1. Application:
– Automotive injection products, medical injection products, food injection products, etc..
2. Inspection items
– OCR: Separation of similar characters between numbers and English
– Shape (=molding) defective
– Geez, scratch
– Breaking
– Black spots, foreign objects, etc
| Injection, mold appearance inspection machine | Application: | Automotive injection products, medical injection products, food injection products, etc.. | ||
|---|---|---|---|---|
| Inspection Item | – OCR: Separation of similar characters between numbers and English – Shape (=molding) defective – Geez, scratch – Breaking – Black spots, foreign objects, etc | |||
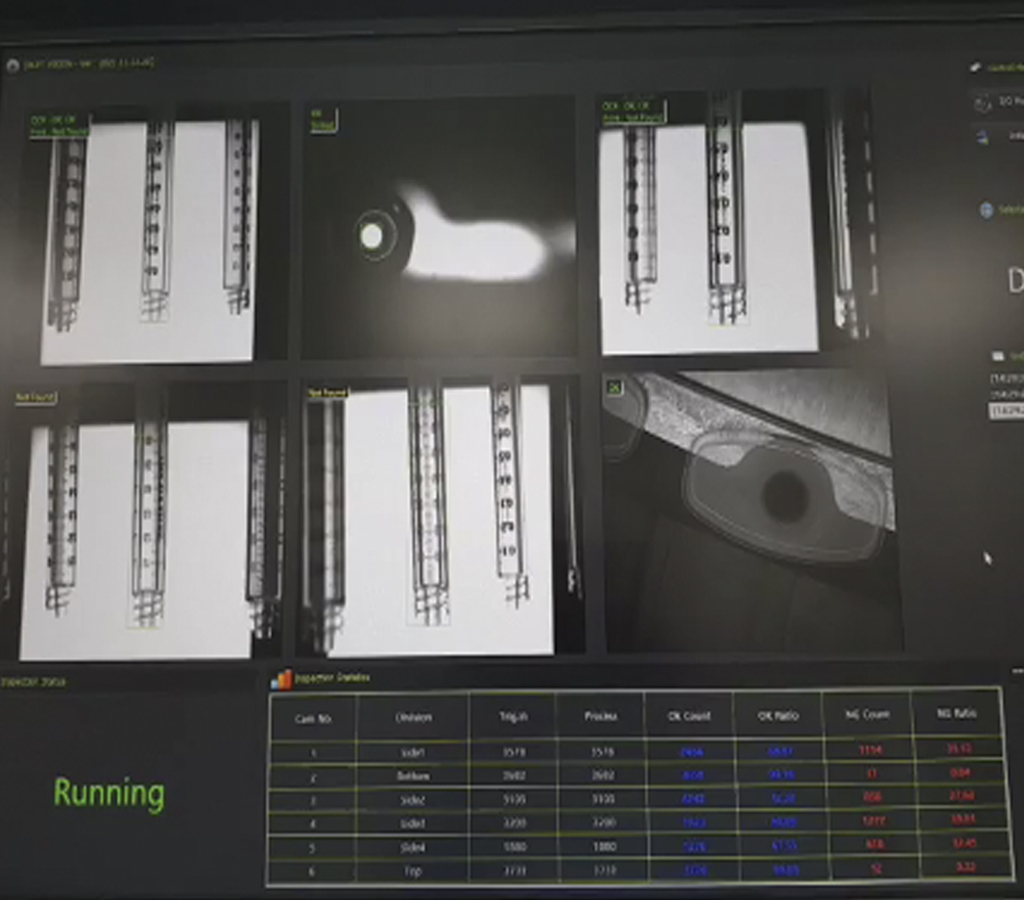
(a medical syringe)
(Food container)
Measurement
천연가죽 검사기
■천연 가죽 검사기
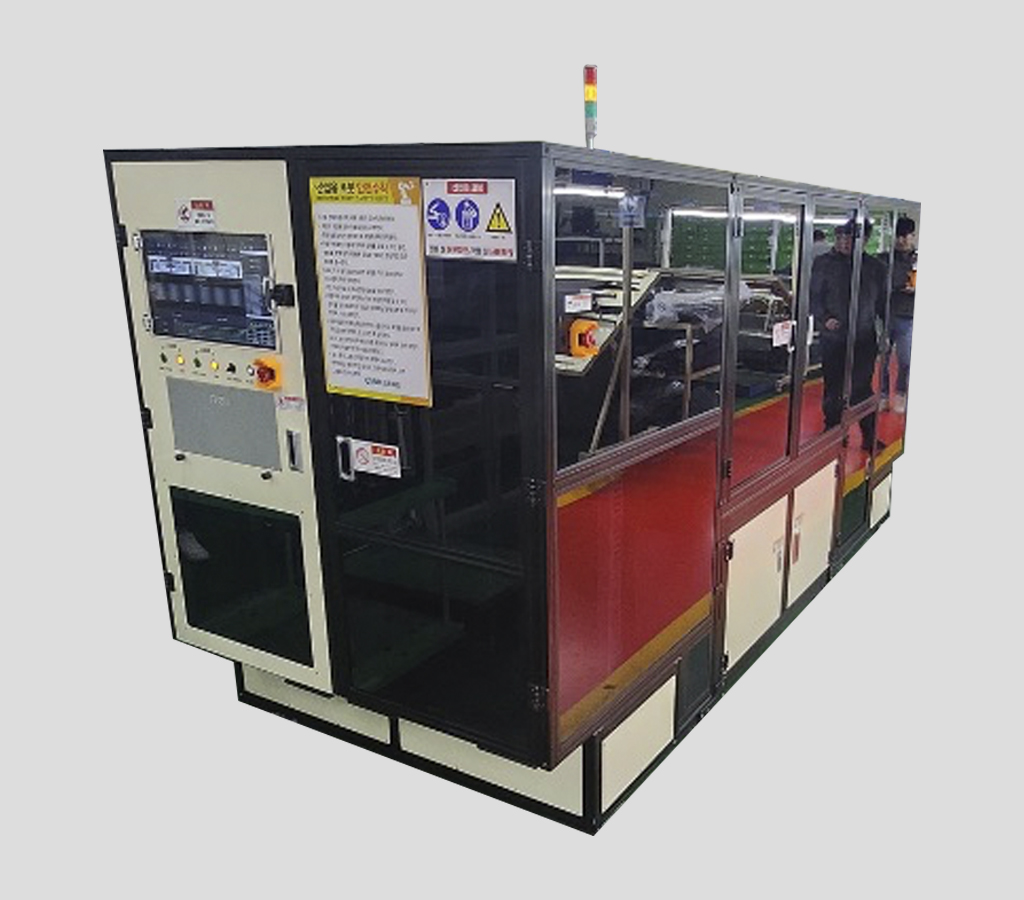
■ 개요
이 장비는 가죽의 표면, 색상, 두께, 텍스처, 결함 여부 등을 자동으로 분석하여 고품질의 가죽을 선별하는 데 도움을 줍니다.
특히, 고해상도 카메라와 센서를 통해 눈에 잘 보이지 않는 결점도 발견할 수 있어 가죽 제품의 품질을 향상시킬 수 있습니다.
이러한 검사기는 가죽 제조업체나 가죽 제품을 만드는 회사에서 품질 관리 과정에 주로 사용됩니다.
| 천연 가죽 검사기 | 적용 제품 | 사전 협의 된 천연가죽 재단물 | ||
|---|---|---|---|---|
| 크기 | Min: 180mm / Max: 432mm / | |||
| 구성 | 산업용광학시스템, 검사PC 및 불량분류용 컨베이어 Set | |||
| 두께 | 1.3T + 0.1T | |||
| 신장률 | 7% 신장시 문제 되지 않는 제품 | |||
| Concept | 4 Line/ 1 System 장비 : 접근성 및 작업성 향상을 위한 2×2 Set 구성 | |||
| FFU | 없음 | |||
| 이물 | 수동 관리 | |||
| 제품 투입 방법 | Load Magazine에 수동 투입 | |||
| 제품 수거 방법 | Unload Magazine에 수동 투입 | |||
| 제품 이송 방법 | Motor 이송 및 Cylinder를 이 용한 픽업 Vacuum Pad를 이용한 직접접 촉(흡착 패드) | |||
| 모델 변경 | Load / Unload 흡착 패드의 간 격 수동 변경 Recipe 변경에 의한 자동 변경 (Motor를 이용한 축만 적용) | |||
| 제품 신장의 방법 | 장죽으로의 5%신장, 수직 방 향으로의 2%신장 수직 방향의 신장은 반원기둥 의 형태 | |||
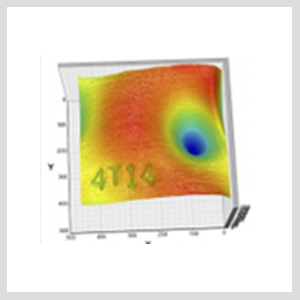
“Surface Prpperty Image”
– 신기술 : 표면 상태 정보를 측정
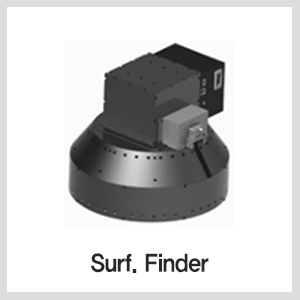
1. 센서의 특징

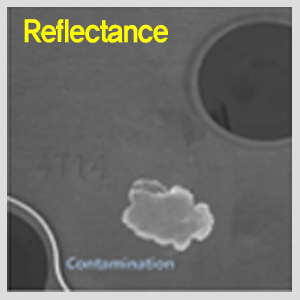
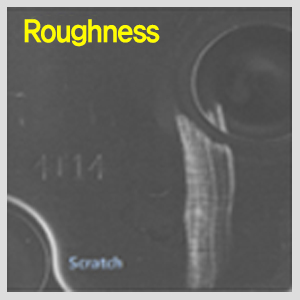
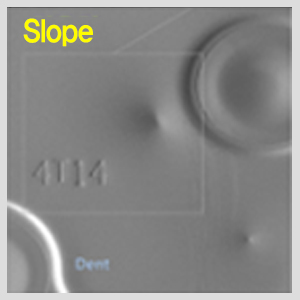
2. 데이터 획득방법
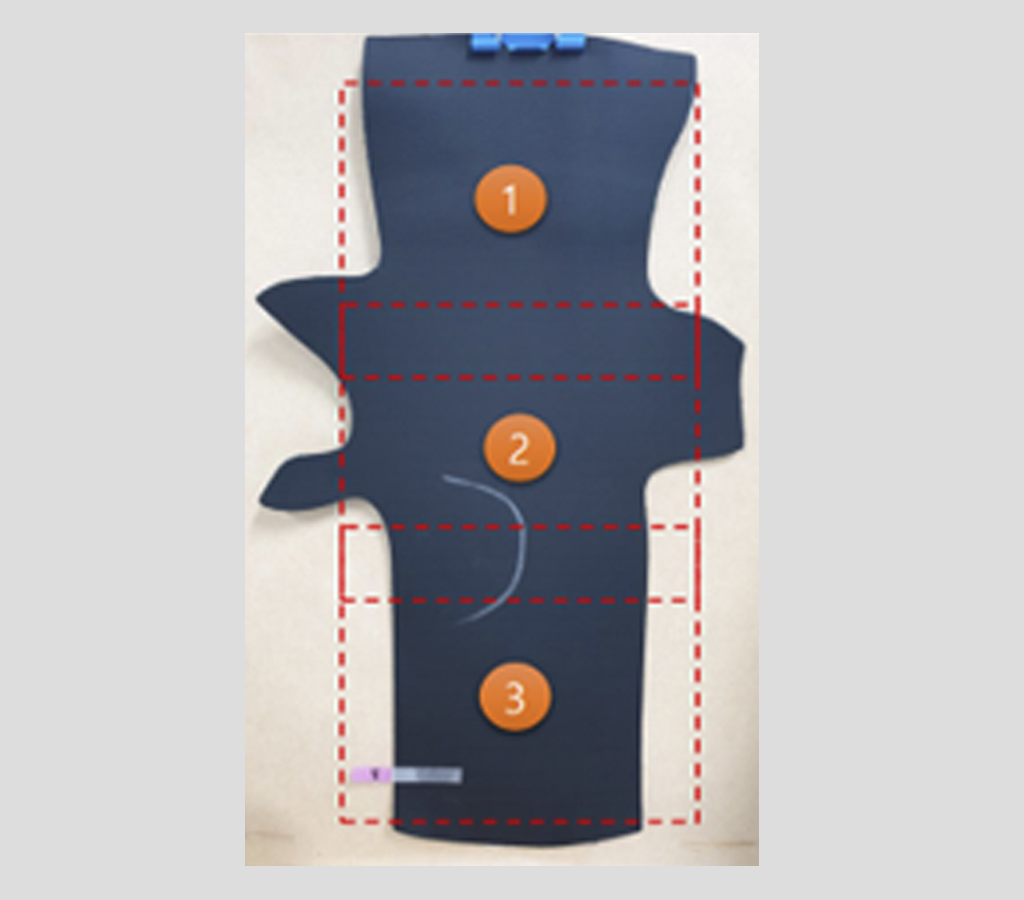
1. 1개의 샘플 3분할 촬영 총 27장의 결과 이미지
2. 각 분할의 검사 영역에서 각각의 폴더(x1, X2, x 3)에 7장씩 이미지를 저장하였음
3. 결과 데이터
1) REF : 반사율 데이터
2)_INH, INV : 기울기 수평/수직 방향 데이터
3)_IN2 : 기울기 수평&수직의 절대값 데이터
4)_RGH, _RGV : 거질기 수평/수직 방향의 데이터
5)_RG2 : 거질기 수평&수직의 절대값 데터
3. 데이터 획득방법
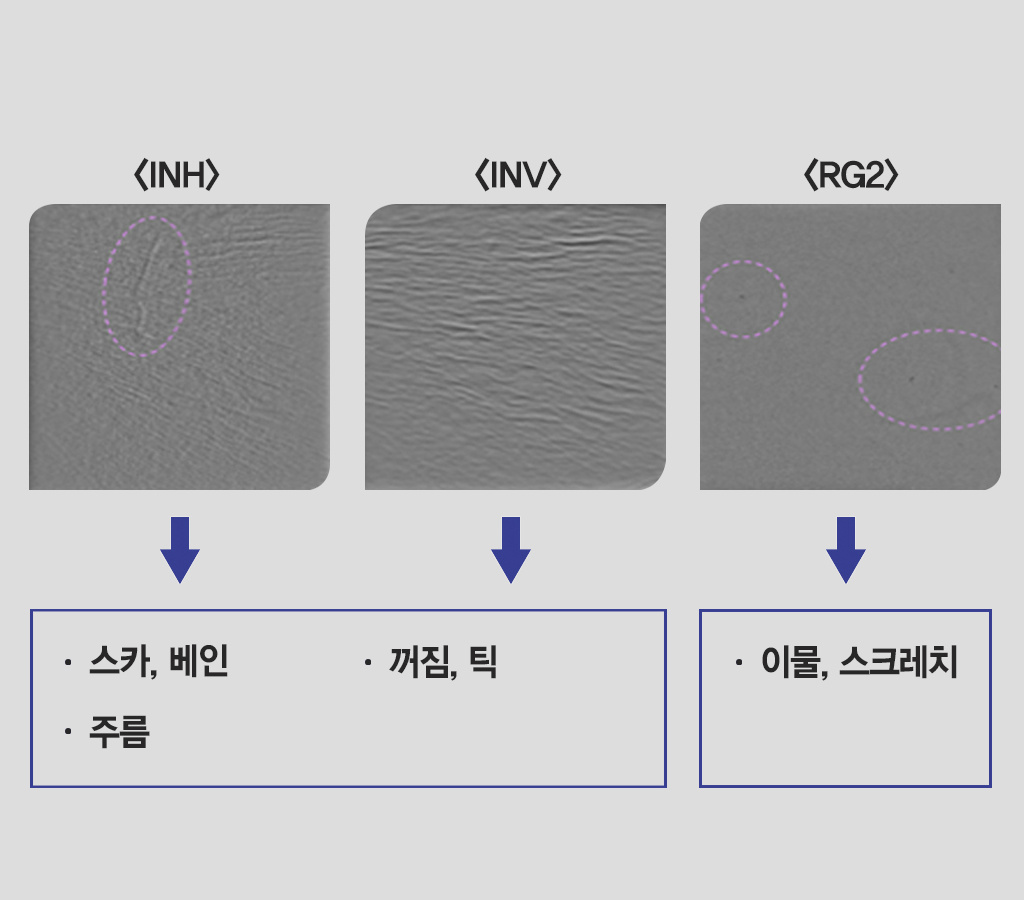
4. AI 학습 결과
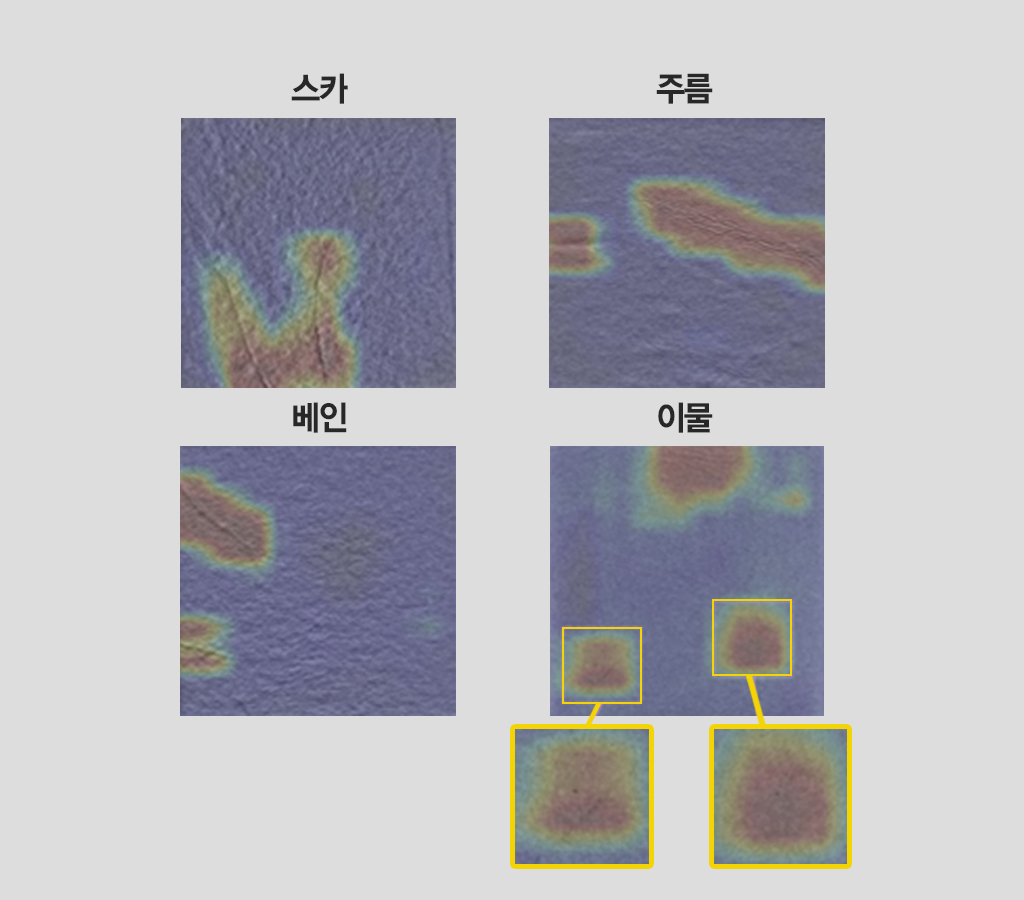
Measurement
Inspection of automotive electronic parts
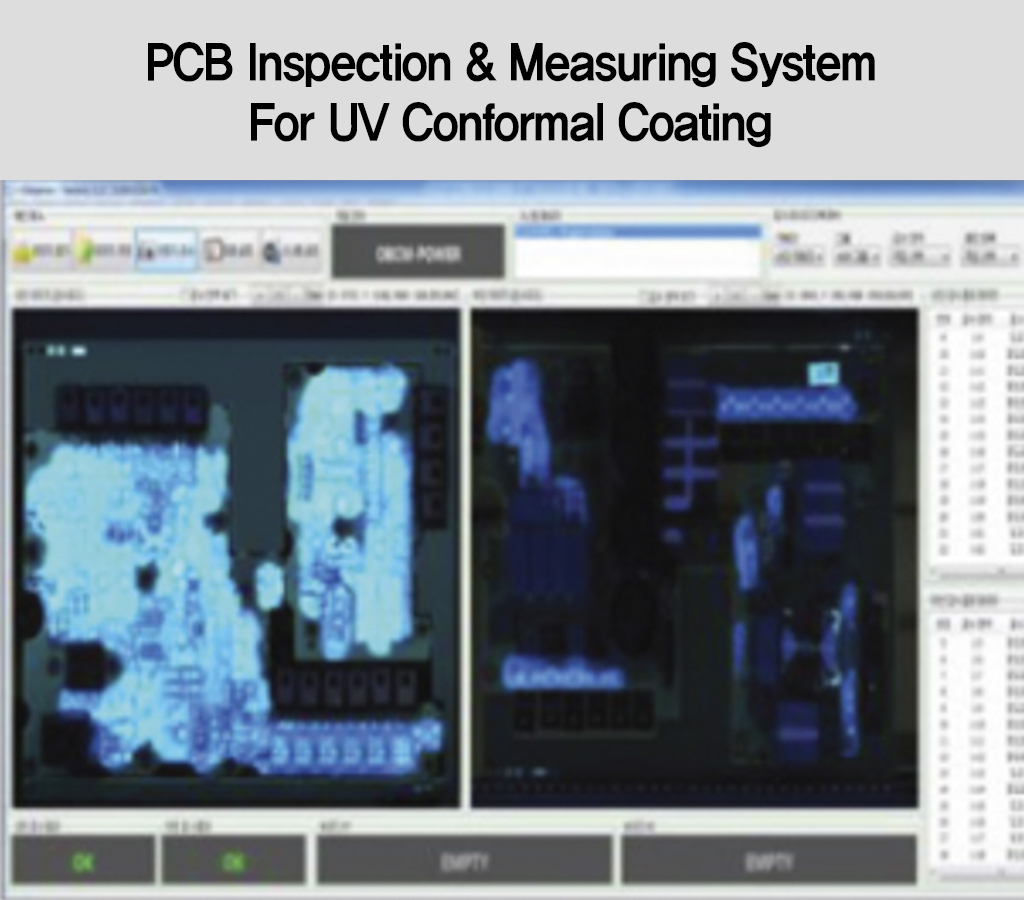
■ PCB Inspection & Measuring System For UV Conformal Coating
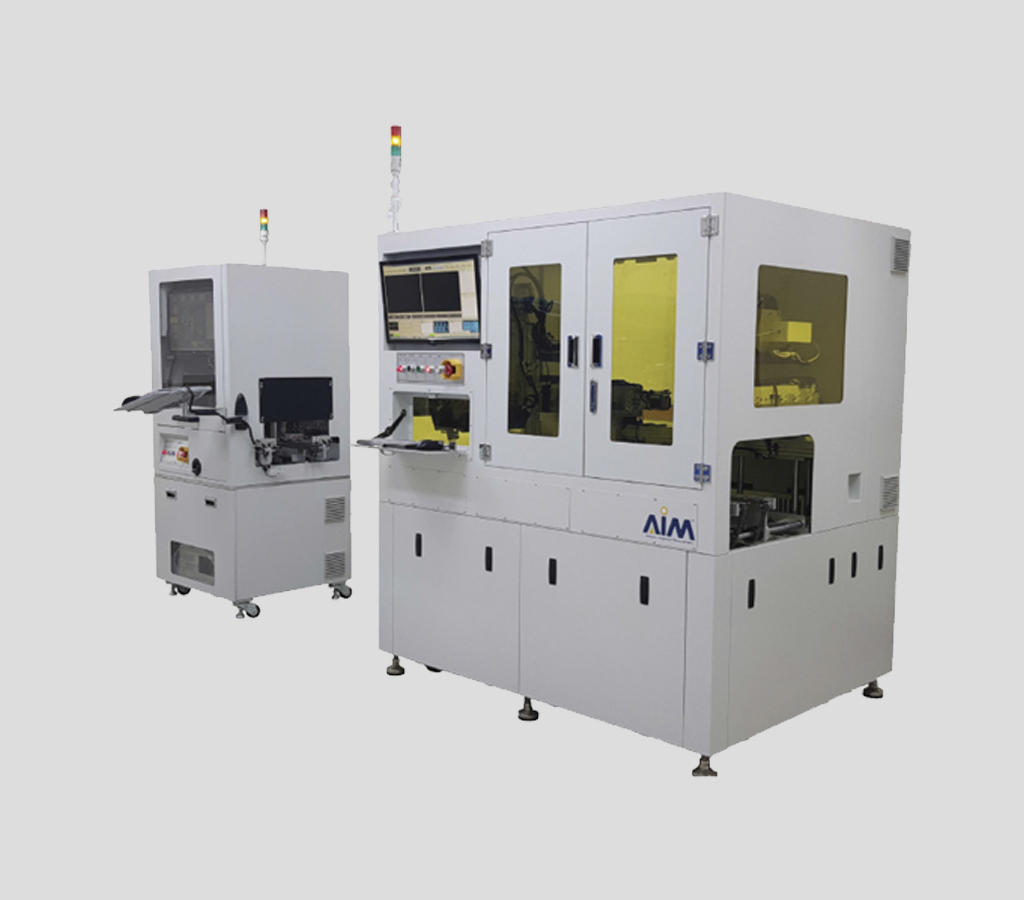
■ Model : AUI-350
• Subject to inspection: Automotive electronic components, electronic PCB
• Inspection Item
– Inspection of electric vehicle electrical PCB UV Coating Application Area / Non-coated Area
– Electric Vehicle Full-length PCB UV Coating Application Area / Thickness Measurement
Double-sided simultaneous examination
Option : Magazine Buffer
• Inspection period: 1 ea = 30/S
Detection power: UV coating test 100um or more
UV Coating Thickness 20um-500um
• Defect classification: can be classified by item after defining inspection items
– Simultaneous Double-Sided Inspection
| Model : CLI-1000C | Subject to inspection | Contact lens (dry) | ||
|---|---|---|---|---|
| Inspection Item | – Lens Edge: Tear, Tear, Foreign Body, Scratch – Optical areas: foreign objects, scratches, bubbles – Pattern area: Air bubbles, scratches, large printing defects, concentration of printing patterns – Others: Poor lens molding | |||
| Examining Options | – Lens Power and Diameter – Lens CT (thickness) | |||
| Inspection period | 3.2m pixel resolution, ~10m bandwidth (NIR) | |||
| Detection power | 50um or more | |||
■ PCB Inspection & Measuring System For UV Conformal Coating

■ Model : ASI-350
• Inspection target: Automotive electronic components, ceiling PCB
• Inspection Item
– Inspection of electric vehicle electrical PCB Silicone Coating Application Area / Non-coated Area
– Report the MES after determining the amount of money
• Option: silicone application thickness measurement, weight measurement after application
• Inspection period: 1ea = 10/
• Detection power: Silicone application 100um or more
• Defective classification: After defining inspection items, classification can be made by item
| Model : CLI-1000C | Subject to inspection | Contact lens (dry) | ||
|---|---|---|---|---|
| Inspection Item | – Lens Edge: Tear, Tear, Foreign Body, Scratch – Optical areas: foreign objects, scratches, bubbles – Pattern area: Air bubbles, scratches, large printing defects, concentration of printing patterns – Others: Poor lens molding | |||
| Examining Options | – Lens Power and Diameter – Lens CT (thickness) | |||
| Inspection period | 3.2m pixel resolution, ~10m bandwidth (NIR) | |||
| Detection power | 50um or more | |||

